


Video-to-Video AI Troubleshooting: Eight Common Problems and What to Change
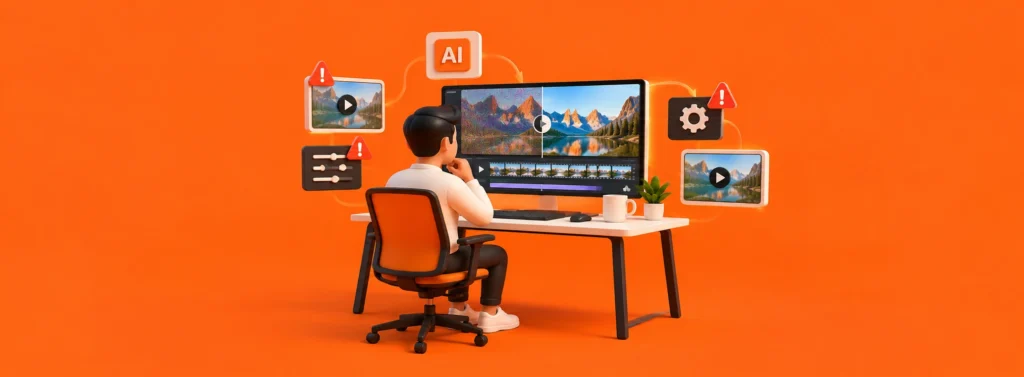
Video-to-video AI takes a clip you already have and builds a new one that follows its movement. When it works, you skip a shoot. When it does not, you get a result that is wrong in a way you cannot name, and you are left guessing whether the fault is the clip, the reference images, the settings or the model.
Here is the short version: most bad results start with the source clip, not the model. This guide covers eight problems that come up again and again, each with a likely cause and one concrete change to try.
One rule sits under everything below. Change one thing per run. If you change the clip, the references and the resolution all at once, a better result teaches you nothing.
1. The movement does not match the source
Symptom: the new clip moves, but not like the original. Timing drifts, or a gesture goes missing.
Likely cause: the source is busy. Several people, quick cuts or a moving camera give the model more to track, and it will drop something.
Fix: pick a clip with one clear subject, one continuous shot and a steady camera. If you need a complex scene, cut it into short pieces, generate each one, and join them in your editor.
2. The person looks different from frame to frame
Symptom: the face or outfit shifts partway through.
Likely cause: the references disagree with each other, or none of them shows the subject from the angle used in the source.
Fix: use clear references with similar lighting, and include one that matches the source angle, such as a front-facing image for a front-facing clip. Remove any reference that contradicts the rest, like the same person with very different hair.
3. Hands and fingers look wrong
Symptom: extra fingers, smeared hands, small objects that melt.
Likely cause: hands are small, fast and constantly changing shape, which makes them hard to reproduce. Holding something fiddly makes it worse.
Fix: choose source clips where the hands stay in frame, move slowly and are empty. If a shot depends on hands, plan to hide them with a cut or an overlay.
Before you generate anything, scrub through the source and note every moment the hands cross the face or hold a prop. Those are the frames most likely to break, so decide in advance whether to trim them out.
4. Text and logos come out garbled
Symptom: product labels, signs and captions turn into something that looks like writing but is not.
Likely cause: the model is reproducing the look of letters, not typesetting them.
Fix: keep important text out of the generated footage. Add captions, titles and logos afterward in your editor. If a product label has to appear in the clip, check it frame by frame before you publish.
5. The clip is rejected or the job fails
Symptom: the upload errors out or the run stops.
Likely cause: the file breaks one of the tool’s limits, such as length, file type or number of references. Less often, the file has an odd container or stream layout.
Fix: look inside the file before you upload it. The ffprobe tool that ships with FFmpeg is built for this. Its documentation describes it as a way to check the container format and the format and type of each stream, and it can print the results as JSON with the -show_format, -show_streams and -output_format json options. Compare what it reports with the tool’s published limits.
If the container is the problem, re-export from your editor. YouTube’s recommended upload settings are a sensible baseline: an MP4 container, H.264 video, progressive scan, and the same frame rate the footage was recorded at. The same page says interlaced footage should be deinterlaced before upload.
6. The result looks soft
Symptom: the generated clip is less sharp than the source.
Likely cause: a low-resolution source, a small output size, or a source that was already compressed once by a social platform and again on your upload.
Fix: go back to the best copy you have, not the one you downloaded from a feed. Run early tests at a small output size because they cost less, then move up only when the motion and the look are right.
7. The lighting feels off
Symptom: the subject looks pasted in, or the light does not match the scene.
Likely cause: the references were lit differently from the source.
Fix: match light direction and colour. A reference shot in warm indoor light will not sit naturally in a clip filmed in cold daylight. If you control the shoot, take the source video and the reference photos in the same place on the same day.
8. The result is fine, but you are not sure you can post it
Symptom: the clip looks good, and then you hesitate.
Likely cause: open questions about consent, ownership or platform rules.
Fix: confirm you have permission for every face in the source and the references, and the right to use the source footage. Then read the rules of the platform where it will live. YouTube, for one, requires creators to disclose AI-generated or altered content that seems realistic, such as content that makes a real person appear to say or do something they did not do. It also says that minor edits and clearly unrealistic content do not need the label. Keep the originals and the permissions in one folder.
A testing routine that saves you runs
When a result disappoints, work down this list in order:
- Is it simple, steady and sharp?
- Are they clear, consistent and lit like the source?
- Is the output size right for this stage of testing?
- The idea. If three clean runs fail the same way, the concept may not suit the tool.
Write one line per run: what you changed, what happened. After ten runs those notes will tell you more about your footage than this guide can.
Name your test files after the single change you made, for example “ref-front-only” or “source-trimmed”. It sounds fussy until the fourth day, when you need to find the run that actually worked.
Know what a test costs before you run it
Troubleshooting means running the tool many times, so price matters. Look for a tool that shows the cost before you generate and returns the credits when a run fails. Genjutsu, a video-to-video tool, does both. It takes source clips of 4 to 30 seconds in MP4 or MOV, accepts up to 20 reference images, and charges 3, 7 or 11 credits per second at 480p, 720p and 1080p. New users get 50 credits, valid for 30 days.
Do the arithmetic for any tool you try. At 3 credits per second, a five-second test at 480p costs 15 credits. The same clip at 1080p costs 55. Debug small and render large once.
Where to start
If you only fix one thing, fix the source. A short, steady clip with one subject removes half the problems on this list before you touch a setting. Then fix the references, then settle the posting rules.
Frequently asked questions
Usually because the references disagree or do not match the angle of the source. Keep a small, consistent set and add one image from the source angle.
No. Test at a small output size and raise it for the final render. You are checking motion and consistency first, and sharpness second.
It depends on the platform and on how realistic the result is. YouTube asks for disclosure of realistic altered or synthetic content, so read the rules of wherever you post.

Related posts

The Hidden Costs of AI Agents: Why AI Agents Are More Expensive Than You Think
Discover AI agent ROI, cost per successful task, AI workflow optimisation, and the hidden economics of running AI agents at scale.
Read more
We Tested 5 Free AI Tools Against One Real Job
We ran one real job through five free AI tools — a week of posts, an email and captions — and timed it all. Here is what we kept today.
Read more
How to Test an AI Meeting Assistant Before It Assigns Work
Test an AI meeting assistant for invented tasks, wrong owners, changed deadlines, and unsafe handoffs before automating follow-up work.
Read more